DIY Home Improvement Forum banner

Backsplash tile adhesive failure

450 views 15 replies 7 participants last post by  chandler48  
#1 ·
Looking for any advice… Just finished tiling my kitchen backsplash. (Have not grouted yet).
I really took my time and thought I had done a lot of research. However, when cleaning joints, a tile popped loosened. Then two more. After much frustration, I’m trying to understand what went wrong and the best resolution, moving forward. The adhesive I used is Mapei type 1 mastic. The tiles are 3”x 12” ceramic. I used a ¼” notch trowel and moved the tiles perpendicular to the grooves to set each tile. Often in forums this type of failure is attributed to the adhesive skinning over before a section is done. However, I did this in several sections and no section took over 15 minutes. I waited 48 hours to clean up tiles/ remove spacers. One thing that concerns me is: I tiled over primed drywall (it’s not a wet area), but it was primed over a year ago. Could the primer have broken down? I’m attaching photos of the failed tiles, but it doesn’t seem like the adhesive is bonded to the tile and not the wall or the wall and not the tile. It’s more like the adhesive is still somewhat soft between the two surfaces even after two days. Is it just fragile for an extended time until it totally cures?
Now moving forward… I could replace the three tiles, grout it and look at it everyday, wondering when it’s going to fall of the wall and break my cooktop… I could change my technique, but I’m not sure what to do differently. If the wall surface is the issue, I could screw a thin hardibacker to the wall and tile over it (if I did that, could I use a thin sheet and screw it over the drywall (into the studs) or should I remove drywall? ( the receptacles are adjustable boxes so that’s not an issue).
I’m willing to take the time to do it right, but because I’m not quite sure why it failed, any or all advice is welcomed.
Thank you
 

Attachments

#4 ·
Dry tiles can suck the moisture out of mastic causing it to fail. I agree - there are no trowel marks.

Maybe back-buttering might have helped?

Here's a product I tried - surprise, it actually worked in our kitchen. Never would have dared use it at a clients home - but, in my own kitchen it's been a good test. Prep the wall, cut the adhesive backed sheets and press them onto the wall, then peel the protective layer off the exposed section so the super adhesive is open and press your tiles into the adhesive. Grout as normal. So far, so good! Really easy!

Image
 
#5 ·
Are you sure the mastic failed, OR is the problem what you applied the mastic to? ....... Can't tell via pics, but I suspect the latter.

A glue is no better than what it is stuck to.

No need for 'fancy' ........ just 'clean it' first.
 
#7 ·
#11 ·
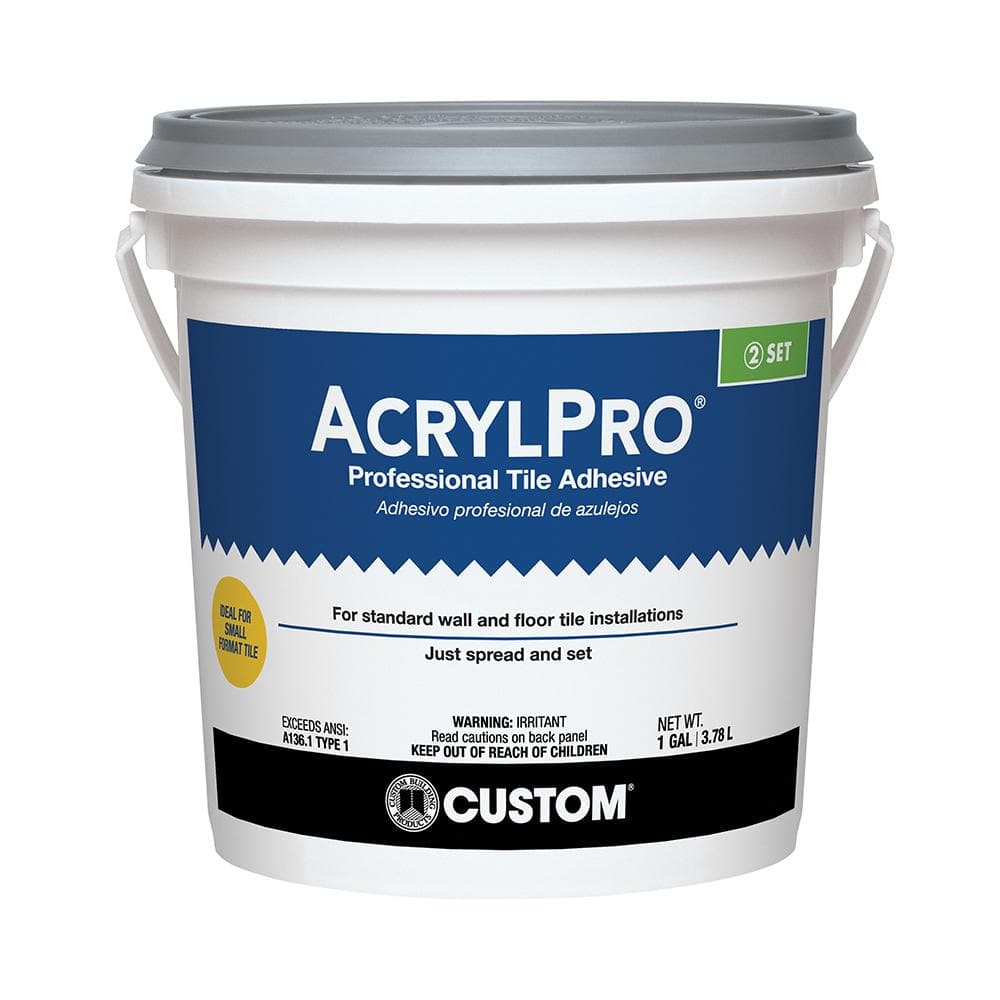
I have never had any problems at all with either the AcrylPro linked above, nor the Mapei mastic the OP used. Both worked well. I prefer the AcrylPro mostly because I don't like the smell of the Mapei.

There is a difference between mastic and premixed thinset. I have not had good results with premixed thinset. Could be a terminology issue, but to me these are two different things.
 
#12 ·
Like chandler, this simply doesn't look right to me. That is not a normal tile adhesive installation visual. This does not look like a trowel was used at all. In all of the backsplashes I've ever done, I've never had a tile feel loose or pull off the wall. In fact the tiles get pretty difficult to move after only about 15-30 minutes, because the edges dry pretty quickly and keep the tiles stuck in place until full drying.

There is something else going on here, and I don't know what it is because I didn't see you install the tiles. I suppose it might be possible that you used way too much adhesive and then squeezed the tiles down completely, but hardly anyone squeezes them down that much. Maybe show us a video or some pics of you applying adhesive and then installing a practice tile.

And what are the things that look like nails?
 
#13 ·
Thank all of you for your comments… I have received feedback ranging from trowel technique, to using the wrong adhesive, to poor wall surface, to mapie adhesive on drywall taking a long time to dry, so maybie it just needs to cure longer. I want to address all this to hopefully give more info and see if I can hone in on what went wrong and how to resolve it.
  • It has been said the my previous photos don’t look like typical correct adhesion and maybe ¼” notch trowel was too big. I’m attaching photos of my trowel pattern on the wall, and what it looked like on tiles that I back buttered. (I only back buttered when I got into tight spaces on the wall). ¼” is what Mapie advised for this tile size (3”x12”). I agree that the lack of any notch pattern on the tiles that came off was confusing to me… I am wondering if I squished the tiles around too much trying to ensure I collapsed the adhesive?
  • As for the comment that Mapie is not the right choice, that’s what I get for taking advice from you tube. I could of bought Acrylpro off the shelf at home depot for 16.95$ but instead I ordered the Mapie type 1 an amazon for twice that… If I start over, I will use acrylpro unless a better choice is suggested.
  • It wouldn’t surprise me if the drywall/paint was the problem. It was said in another forum to scrape and prime with shellac primer. I think it would almost be easier to put up ¼” hardibacker that to try and salvage the drywall as the papers ripping in places when I remove the adhesive but I would like to get feedback about this. I don’t know if I can just put hardibacker over drywall (into studs) or if I would need to cut out the drywall?
  • Advice on another forum was to wait a week and reassess as Mapie on painted drywall takes forever to cure.
  • One last thing all add in hindsight is I used tiles that are beveled (wider in back) to “eliminate the need for spacers”. I used spacers as in my mind, no space between tiles would create expansion issues. However, because the spacers only made contact with the tile at the back edge of the tiles…they seemed harder to use than I remember doing tile in the past. I would not use these tiles again.
Again, I appreciate everyone’s comments, and I look forward to further feedback.
 

Attachments

#14 ·
OK some details. Not trying to be nitpicky, just giving info.

Mastic doesn't "set", it just dries.

What you're calling back buttering is actually back troweling. You can either trowel onto the wall or trowel onto the tile. Back buttering in addition to that isn't very important for backsplash installation IMO.

You probably do have too much mastic on there, which would have slowed drying time. That would be about right for thinset, but probably too much for mastic.

You can't really squish the tiles down too much, as that's optimal. It does look strange to me even so.

I don't think there is anything wrong with Mapei Type 1, as it's a suitable adhesive for this project. I've used it before and it works fine.

I would not have used a 1/4" trowel even when looking at Mapei's instructions. Note that the tile sizes they give are square sizes. Your tile is 3" on the shortest side, therefore I would have used that measurement and picked the next size smaller trowel. Not that I think this actually caused your failure.

Tile spacing should not be much of an issue, other than to say using spacers would work in your favor as opposed to no spacers, if anything.

Could be a wall prep issue of some kind, I don't know.

There certainly wouldn't be anything wrong with scraping up the wall and screwing 1/4" Hardibacker onto it, and then reapplying directly to that.
 
#15 ·
Hello, I posted about 1 ½ weeks ago about a backsplash 3” x 12 subway tile job I was concerned about because two tiles popped off during clean up. This was before grouting. I used Mapei type 1 mastic and a ¼” x ¼” notched trowel. I got some responses that maybe I used too much mastic and even though I waited 24 hours too clean, maybe the mastic had not dried. I left the backsplash for about 1 ½ weeks too see if by waiting the bond would be strong. I now want to test it by trying to pop off tile/tiles. What I’m not sure of is, on drywall, with no grout, how strong should the bond be? Meaning should I expect the drywall to come off in chunks? Should the tiles break? Again this is before grouting…. What am I looking for?
 
#16 ·
Based on the pictures where the original tiles popped off, the adhesion was sub par. If you try to pry them off, do it gently. If they give, they give. I have a feeling you will find more in the same category. If they don't come off with moderate prying, leave it alone and replace the ones popped out.